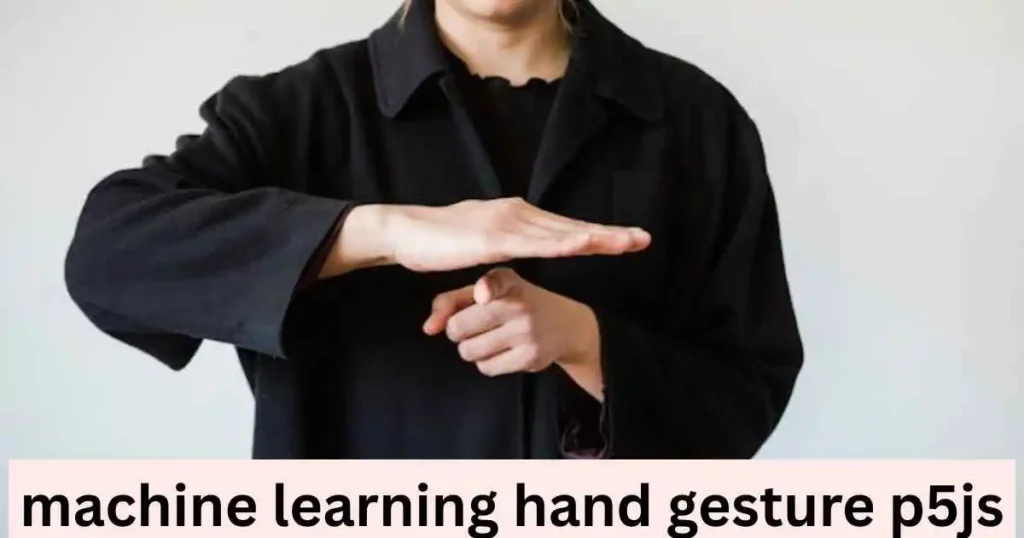
Have you ever imagined controlling your PC with only a wave? Imagine playing a sport, flipping through a picture gallery, or maybe controlling a drone without touching a single button! With Machine Learning Hand Gesture p5.Js, you can bring this futuristic idea to life.
In this guide, we will guide you through the technique of building a Machine Learning Hand Gesture p5.Js innovative coding framework. Whether you are a newbie or an experienced coder, you will find this educational and easy to follow.
Why Hand Gesture Recognition?
Think about how herbal Machine Learning Hand Gesture p5.Js are in verbal exchange. We wave to say hi there, provide a thumbs-up to expose approval, and point in a route to manual someone. Now, consider the usage of the ones equal gestures to interact with your pc.
Machine Learning Hand Gesture p5.Js has limitless applications, from gaming and digital truth (VR) to assisting people with disabilities engage with virtual gadgets. This era is widely used in human-pc interaction (HCI) and is continuously evolving with advancements in artificial intelligence (AI).
What You’ll Need
Before we dive in, let’s accumulate the necessary gear:
- p5.Js – A JavaScript library designed for creative coding, ideal for working with visuals and interactivity.
- TensorFlow.Js – A gadget studying library that permits you to train and run fashions immediately inside the browser.
- A Webcam – Essential for capturing your Machine Learning Hand Gesture p5.Js.
Step 1: Collecting Hand Gesture Data
Every right Machine Learning Hand Gesture p5.Js of the version begins with incredible statistics. In this example, we want a dataset of various Machine Learning Hand Gesture p5.Js that our model can study from.
How to Capture Hand Gesture Data?
We’ll use p5.Js to seize pix of Machine Learning Hand Gesture p5.Js through the webcam. Follow these steps:
- Set up your p5.Js sketch with a webcam feed.
- Capture and shop photos whilst you press a specific key.
- Organize the photos into classified folders (e.g., “fist,” “open_hand,” “thumbs_up”).
- Collect at least one hundred hundred snapshots in step with gestures to improve version accuracy.
Here’s a basic p5.Js script to seize pix:
characteristic setup()
  createCanvas(640, 480);
  video = createCapture(VIDEO);
  video.Length(640, 480);
  video.Disguise();


feature draw()
  photograph(video, 0, 0);


characteristic keyPressed()
  if (key === '1')
    saveCanvas('fist' + frameCount, 'png');
   else if (key === '2')
    saveCanvas('open_hand' + frameCount, 'png');
Step 2: Training a Machine Learning Model
Now that we have our dataset, it’s time to train a system studying model using TensorFlow.Js. The pleasant model for this task is a Convolutional Neural Network (CNN), that is designed for photograph reputation.
How Training Works
- Preprocess Data – Resize pictures, normalize pixel values, and convert them into tensors.
- Build the Model – Define a CNN architecture with convolutional layers.
- Train the Model – Feed it the dataset, so it learns to understand patterns.
- Evaluate Accuracy – Test the model on unseen snapshots.
Here’s a simple TensorFlow.Js model setup:
const model = tf.Sequential();
model.Upload(tf.Layers.Conv2d(
  inputShape: [64, 64, 3],
  filters: sixteen,
  kernelSize: three,
  activation: 'relu'
));
model.Upload(tf.Layers.Flatten());
version.Upload(tf.Layers.Dense(gadgets: sixty four, activation: 'relu'));
version.Upload(tf.Layers.Dense(gadgets: 3, activation: 'softmax'));
version.Bring together(optimizer: 'adam', loss: 'categoricalCrossentropy');
To educate the version:
watch for model.Healthy(trainingData, trainingLabels, epochs: 10);
Step 3: Integrating the Model with p5.Js
Now that we have an educated version, we can integrate it with p5.Js to make actual-time predictions.
- Capture a webcam body.
- Process the body to shape the model’s input layout.
- Pass it via the version to get a prediction.
- Display the diagnosed gesture on the screen.
Here’s an instance of actual-time integration:
feature draw()
  image(video, zero, 0);
  allow processedFrame = preprocessFrame(video);
  permit prediction = version.Expect(processedFrame);

  if (prediction.IndexOf('fist') > -1)
    textual content('Fist detected!', 50, 50);
   else if (prediction.IndexOf('open_hand') > -1)
    textual content('Open Hand detected!', 50, 50);
Taking It to the Next Level
Once your primary gadget is jogging, right here are a few ideas to enhance and increase it:
- Recognize More Gestures – Add greater categorized categories.
- Control Digital Applications – Use gestures to manipulate a tune participant, regulate volume, or play a game.
- Increase Accuracy – Train the version with information augmentation techniques.
- Use WebSockets – Connect your version to a robotic, IoT device, or any other software.
Final Thoughts: The Power of Creative Coding + AI
Building a device studying Machine Learning Hand Gesture p5.Js popularity gadget with p5.Js is an exciting adventure. It bridges the gap between creative coding and synthetic intelligence, permitting you to create effective and interactive programs.
So, what’s subsequent? Start experimenting, collect greater statistics, and notice how far you can take this task! With the energy of Machine Learning Hand Gesture p5.Js and TensorFlow.Js, the possibilities are countless.
“Just like researchers at Machine Learning at Berkeley are pushing the boundaries of AI, you too can explore cutting-edge innovations by building your machine learning hand gesture p5.js project—right from your browser!”
